With summer road trip season in full swing, we created a fun DIY project for kids that is sure to make your pups howl (in good way) about summer travel.
The Great Wolf Kids luggage tag is a simple, yet creativity-inspiring travel project for kids that will help focus all of their pre-trip excitement! It’s a great way to announce an upcoming trip as a fun surprise, too.
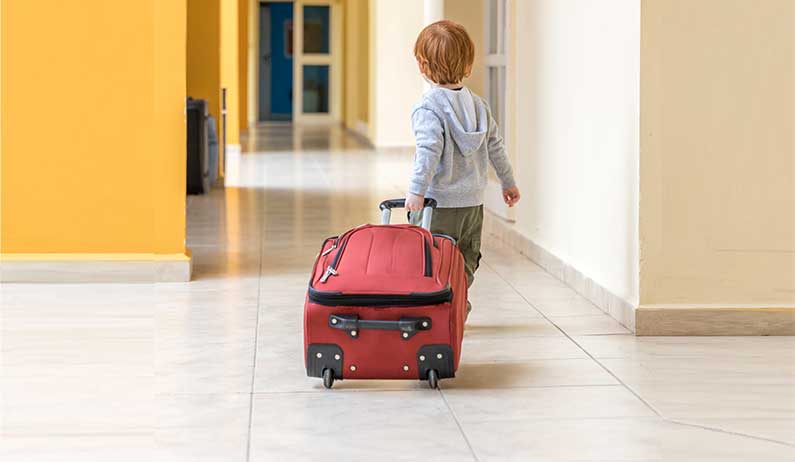
Simply have your kids pick their favorite Great Wolf Kids character, customize the look, and attach it to their bag.

Step-by-Step Directions for DIY Luggage Tags
Step 1: You know what kids crafts mean… craft supplies! You’ll need a few different items you probably already h
ave around the house.
- Paper to print the template (we recommend heavy stock paper for durability)
- Adhesive (we used glue sticks and glue)
- Colored pencils, crayons, or markers
- Single hole punch
- Ribbon, yarn, or string
Step 2: Color your luggage tag. Get creative, or stick to your character’s signature look. The choice is yours! Take a look at what Wiley, Violet, Oliver, Rachel, Sammy, and Brinley look like on our site.
Step 3: Cut out all three pieces of your luggage tag.
Tip: Follow the dotted lines rather than the solid ones for an easier cutting path.
Step 4: Using the adhesive of your choice, attach the name badge and character to the base circle.
Tip: Attach the name badge to either the bottom or the back of the tag. This allows for plenty of room for your Great Wolf Kids friend.
Tip: For added durability, consider laminating the tag with a laminator or packing tape.
Step 5: Locate the small dotted line circle on the base of the tag. Use your single hole punch to punch a hole over the dotted line.
Step 6: Cut a six-inch piece of ribbon, yarn, or string. Thread one end of the ribbon through the hole made in Step 5. You should now have about one half of the ribbon on either side of the tag.
Step 7: Thread one side of the ribbon through the handle of the luggage. Tie a knot in the ribbon, fastening the tag to the luggage.
Step 8: Sport your new DIY luggage tag on your next trip to Great Wolf Lodge, or wear it on your backpack!