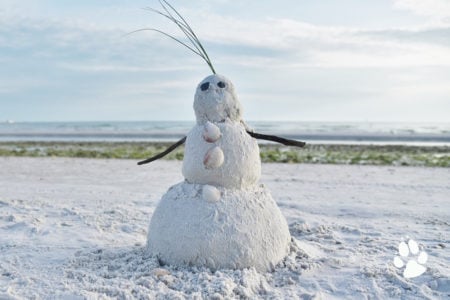
Did you know building a snowman is a tradition dating back to the Middle Ages? Even Michelangelo, the famous Renaissance sculptor, was commissioned in 1494 to create a snowman in a mansion courtyard in Florence!
Whether it’s snowing outside right now or you’re just dreaming of the next snowfall, let’s walk through how to build the perfect snowman.
What You Need To Build a Snowman
- Snow
- Carrot for the nose
- Branch for arms
- Buttons or rocks for eyes
- Accessories
- Gloves or mittens to keep your hands warm
- Friends and family to help you lift and roll
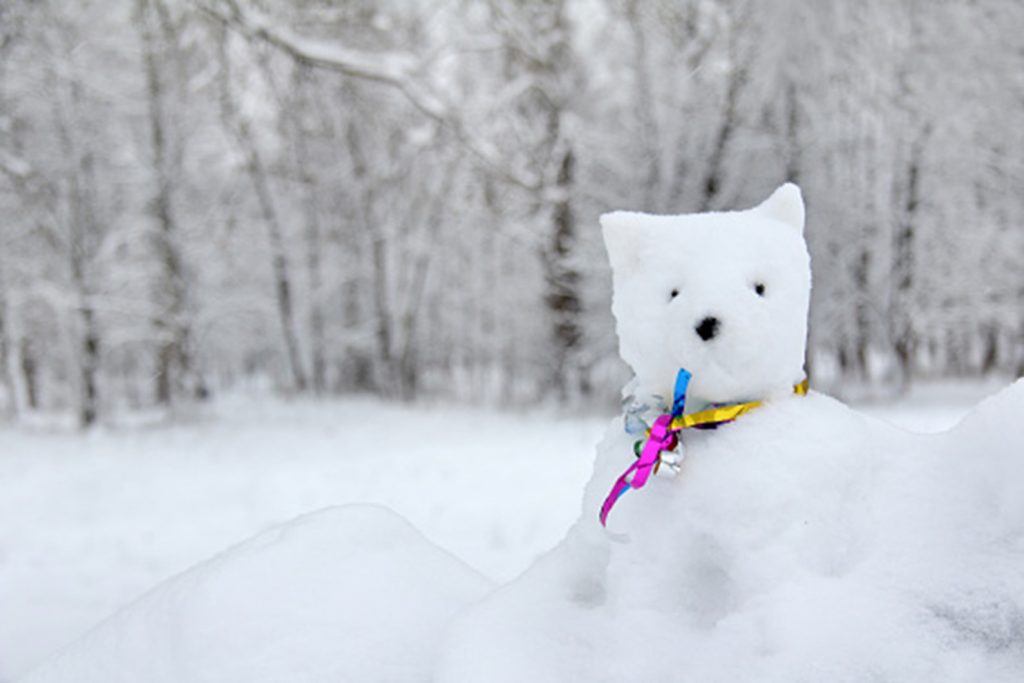
- Bonus: ears to look like the Wiley version of a snowman
How To Build a Snowman, Step by Step
- Find a spot for your snowman to stay. Pick a shady area—direct sunlight will melt your snowman quickly, but a shady spot will help it last much longer!
- Look for snow that’s slightly wet and packable (not too powdery or too slushy). If it’s too dry, you can add a light mist with a garden hose.
- Pack a snowball with your hands to start the bottom part of the snowman’s body. For the sturdiest snowman, follow the 3-2-1 ratio: about 3 feet wide for the bottom, 2 feet for the middle, and 1 foot for the head.
- Roll the snowball in all directions to round it out and make it bigger. Keep rolling until it is about 3 feet wide or too heavy to push. Pat the snowball once in a while so the snow sticks.
- Do the same for the middle section of the snowman but make sure it is slightly smaller than the bottom section.
- Repeat for the head
- Pack some snow in between each section so it blends, and the snowman can have a sturdy structured body.
- Stick the carrot in for the nose, branches for the arms and add in your snowman’s eyes and mouth!
- Bonus points if you shape special ears for your snowman to make it look like Wiley.
- Get creative with accessories! Use items from around the house like hats, scarves, or buttons. Dark stones work great for eyes and mouth, sticks make perfect arms, and you can even add a shovel for extra detail.
How To Build a Snowman With Dry Snow
Dry, powdery snow will not stick together. Mist it lightly with a garden hose or a spray bottle, wait a minute, and pack it again. You can also wait for a warmer part of the day, when the snow is closer to melting and easier to pack.
Snowman Questions and Answers
What Is the Best Temperature To Build a Snowman?
Right around freezing: 32 degrees Fahrenheit. Snow near that temperature holds a little water, which helps it pack. Much colder snow is usually too dry and powdery.
What If the Snow Is Too Wet?
Slushy snow is heavy and will not hold its shape. Wait for a cooler part of the day, or mix in drier snow from a shady spot.
Can You Build a Snowman on Grass?
Yes. Pick a flat spot with plenty of snow cover. Brush off any grass or leaves the snowball picks up as it rolls.
How Do You Make a Snowman Last Longer?
Build it in the shade, pack each section tightly, and make it big. Large, tightly packed snowmen melt more slowly.
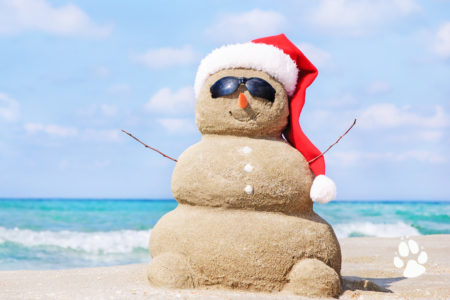
We hope you had fun building your snowman! Of course, we know not everyone lives in cold climates. We’re not leaving you out! Don’t forget to share your snowman creations with us on social media using #GWLsnowman—we’d love to see your Wiley-inspired snowmen!
Find more winter facts on the Great Wolf blog as you wait for the snow to come.