What’s your favorite color? We like all the colors! With this magical kaleidoscope craft you’ll be able to see all kinds of shapes and shades.
Cheer the kids on as they explore light, reflections, and symmetry with this fun STEM activity. You can use this craft to break up a long day of e-Learning exercises, or put it together over the weekend to gear up for the week ahead!
Don’t forget to find us on social media @GreatWolfLodge and tag #pawsnplay to post your kaleidoscope. Check out the instructions below to get started!
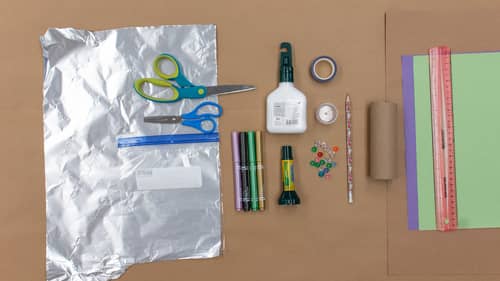
Supplies:
- Aluminum Foil
- Scissors
- Disposable Clear Bag
- Metallic Markers
- Plastic Round Beads
- Craft Roll
- Pencil
- Decorative Tape
- Liquid Glue
- Glue Stick
- Construction Paper
- Cardboard
- Measuring Stick
- Plastic Bottle Caps
Time to Craft: 15 minutes
Step 1: Measure and cut the green construction paper to cover the craft roll.
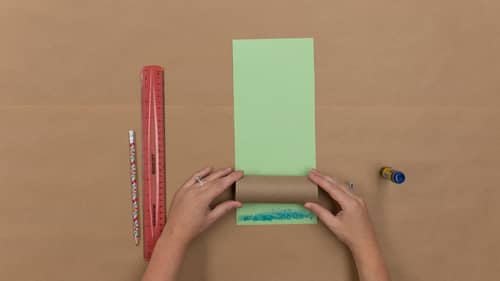
Step 2: Using the glue stick, add a strip of glue to one side of the green construction paper and roll the craft roll until it is fully covered.

Step 3: Cut two narrow strips of purple construction paper and glue around the craft roll.
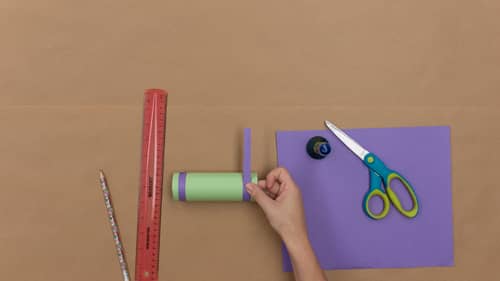
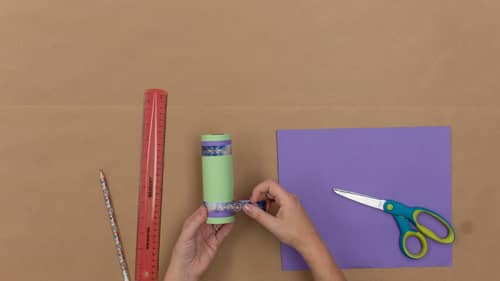
Step 4: Add decorative tape to the craft roll.
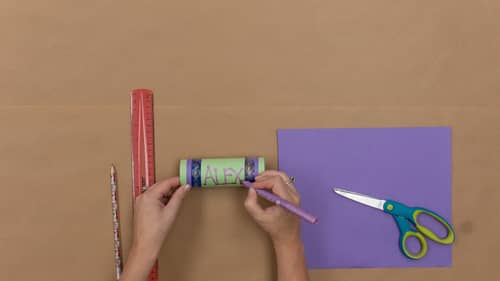
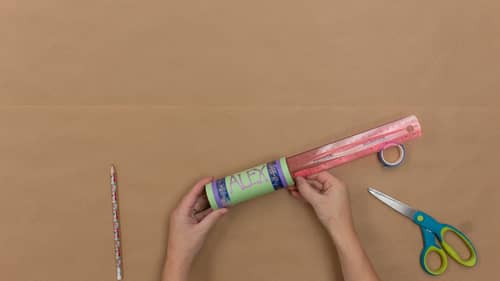
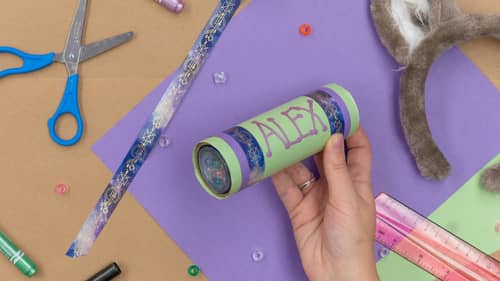
Step 5: Write your name in the metallic marker along the side of the craft roll.
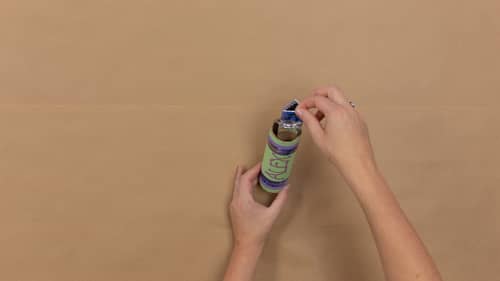
Step 6: Wrap the plastic bottle cap with decorative tape. The tape is used to create a snug fit inside the end of the craft roll.
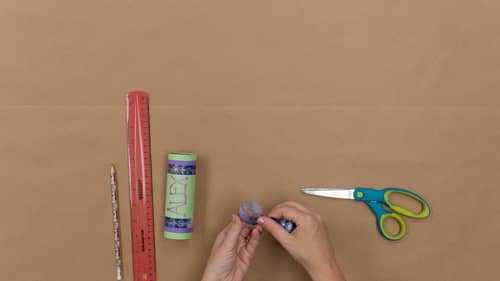
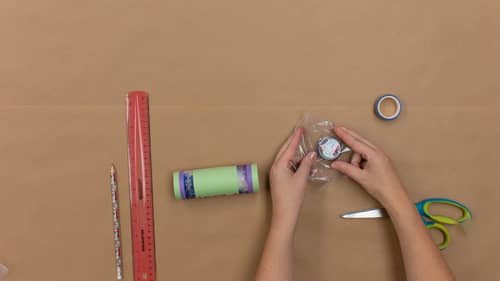
Step 7: Place the plastic round beads on the bottom of the plastic bottle cap.
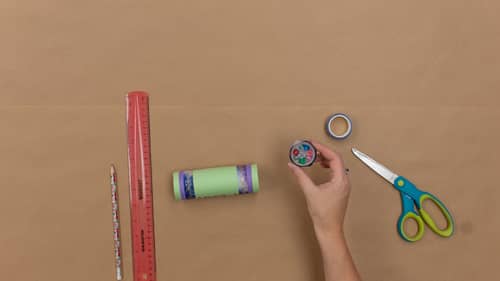
Step 8: Cut a small piece of the disposable bag and place it on top of the plastic bottle cap.
Step 9: Use the decorative tape to secure the bottle cap to the craft roll.
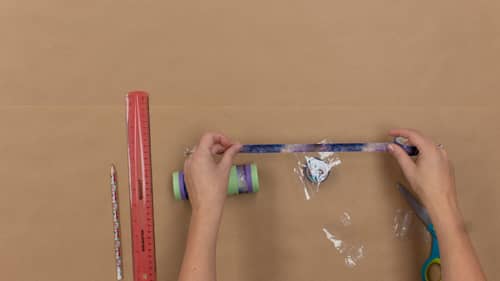
Step 10: Push the container of beads into the craft roll. If it does not fit snuggly add more tape around it. Use the ruler to help push it down to the end of the roll.
Step 11: Place the ruler inside the craft roll and measure the dispense between the end of the bead container and the top of the craft roll.
Step 12: Cut three narrow strips of brown cardboard 1” wide x the length measured in step 11. Set aside.
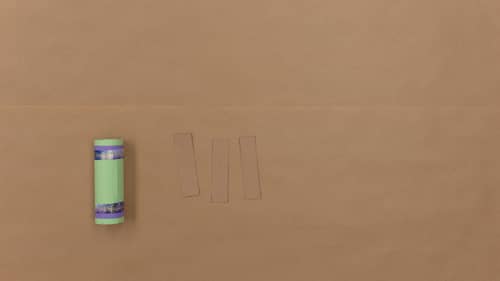
Step 13: Cut three small rectangles of aluminum foil slightly larger than the pieces of cardboard cut in step 12.
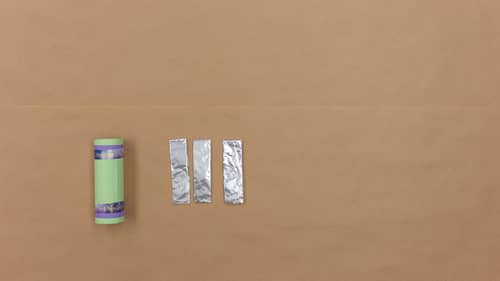
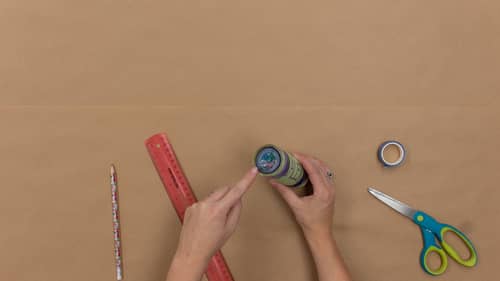
Step 14: Cover the brown cardboard with the aluminum foil. Use the glue to secure.
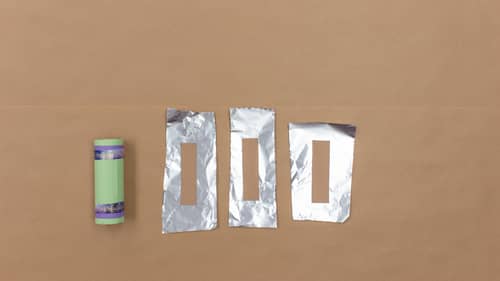
Step 15: Add decorative tape to the aluminum foil and fold into a triangle shape.
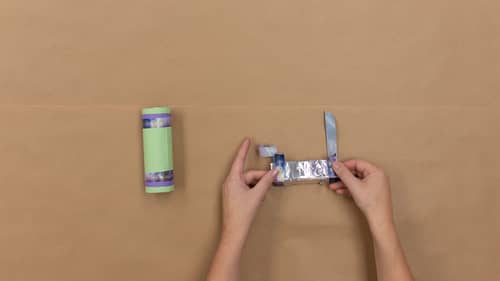
Step 16: Insert the aluminum foil triangle into the craft roll.
Step 17: Place the kaleidoscope up to your eye and slowly spin to see all the pretty colors!
We hope you had a blast making your very own kaleidoscope. Visit us again soon for more ideas on how to have fun at home with the family during your eLearning recess break. If you’re curious about visiting Great Wolf Lodge, be sure to read our Paw Pledge. We’re committed to keeping your family safe while you play!
Created by CraftBoxGirls.com / @craftboxgirls